Echo Vision Admin
tags: platform admin web echo-vision
End-to-end guide for using Echo Vision Admin. Part 1 covers super admin tasks (org creation/update). Part 2 covers org admin tasks (sites, mics, users, reports, settings).
Admin app URL: https://echo-vision-admin.gonimbly.ai/
Contents
Part 1 — Super Admin
Part 2 — Org Admin
Part 1 — Super Admin
Only super admin can create new organizations. Get super admin credentials from the tech team.
1. Login
- Open https://echo-vision-admin.gonimbly.ai/
- Sign in with super admin email and password.
2. Open Organizations Page
Navigate to https://echo-vision-admin.gonimbly.ai/organizations to see all existing orgs.
- Create new org via the New Organization button.
- Update an existing org by selecting it from the list.

3. Create Organization
Click New Organization and fill all required fields.
While creating the org, also create the org admin account (email + password). Those credentials are what the org admin uses to log in to their organization.

Submit the form to finish creation.
4. Update Organization
From the organizations list, click an existing org row to edit its details. Save to apply changes.
Notes:
- Only super admin role can create orgs. Regular org admins cannot.
- Org admin credentials created in step 3 must be shared with the customer securely.
- New orgs become active immediately after creation.
Part 2 — Org Admin
Guide for org admins to manage sites, mics, users, reports, and settings.
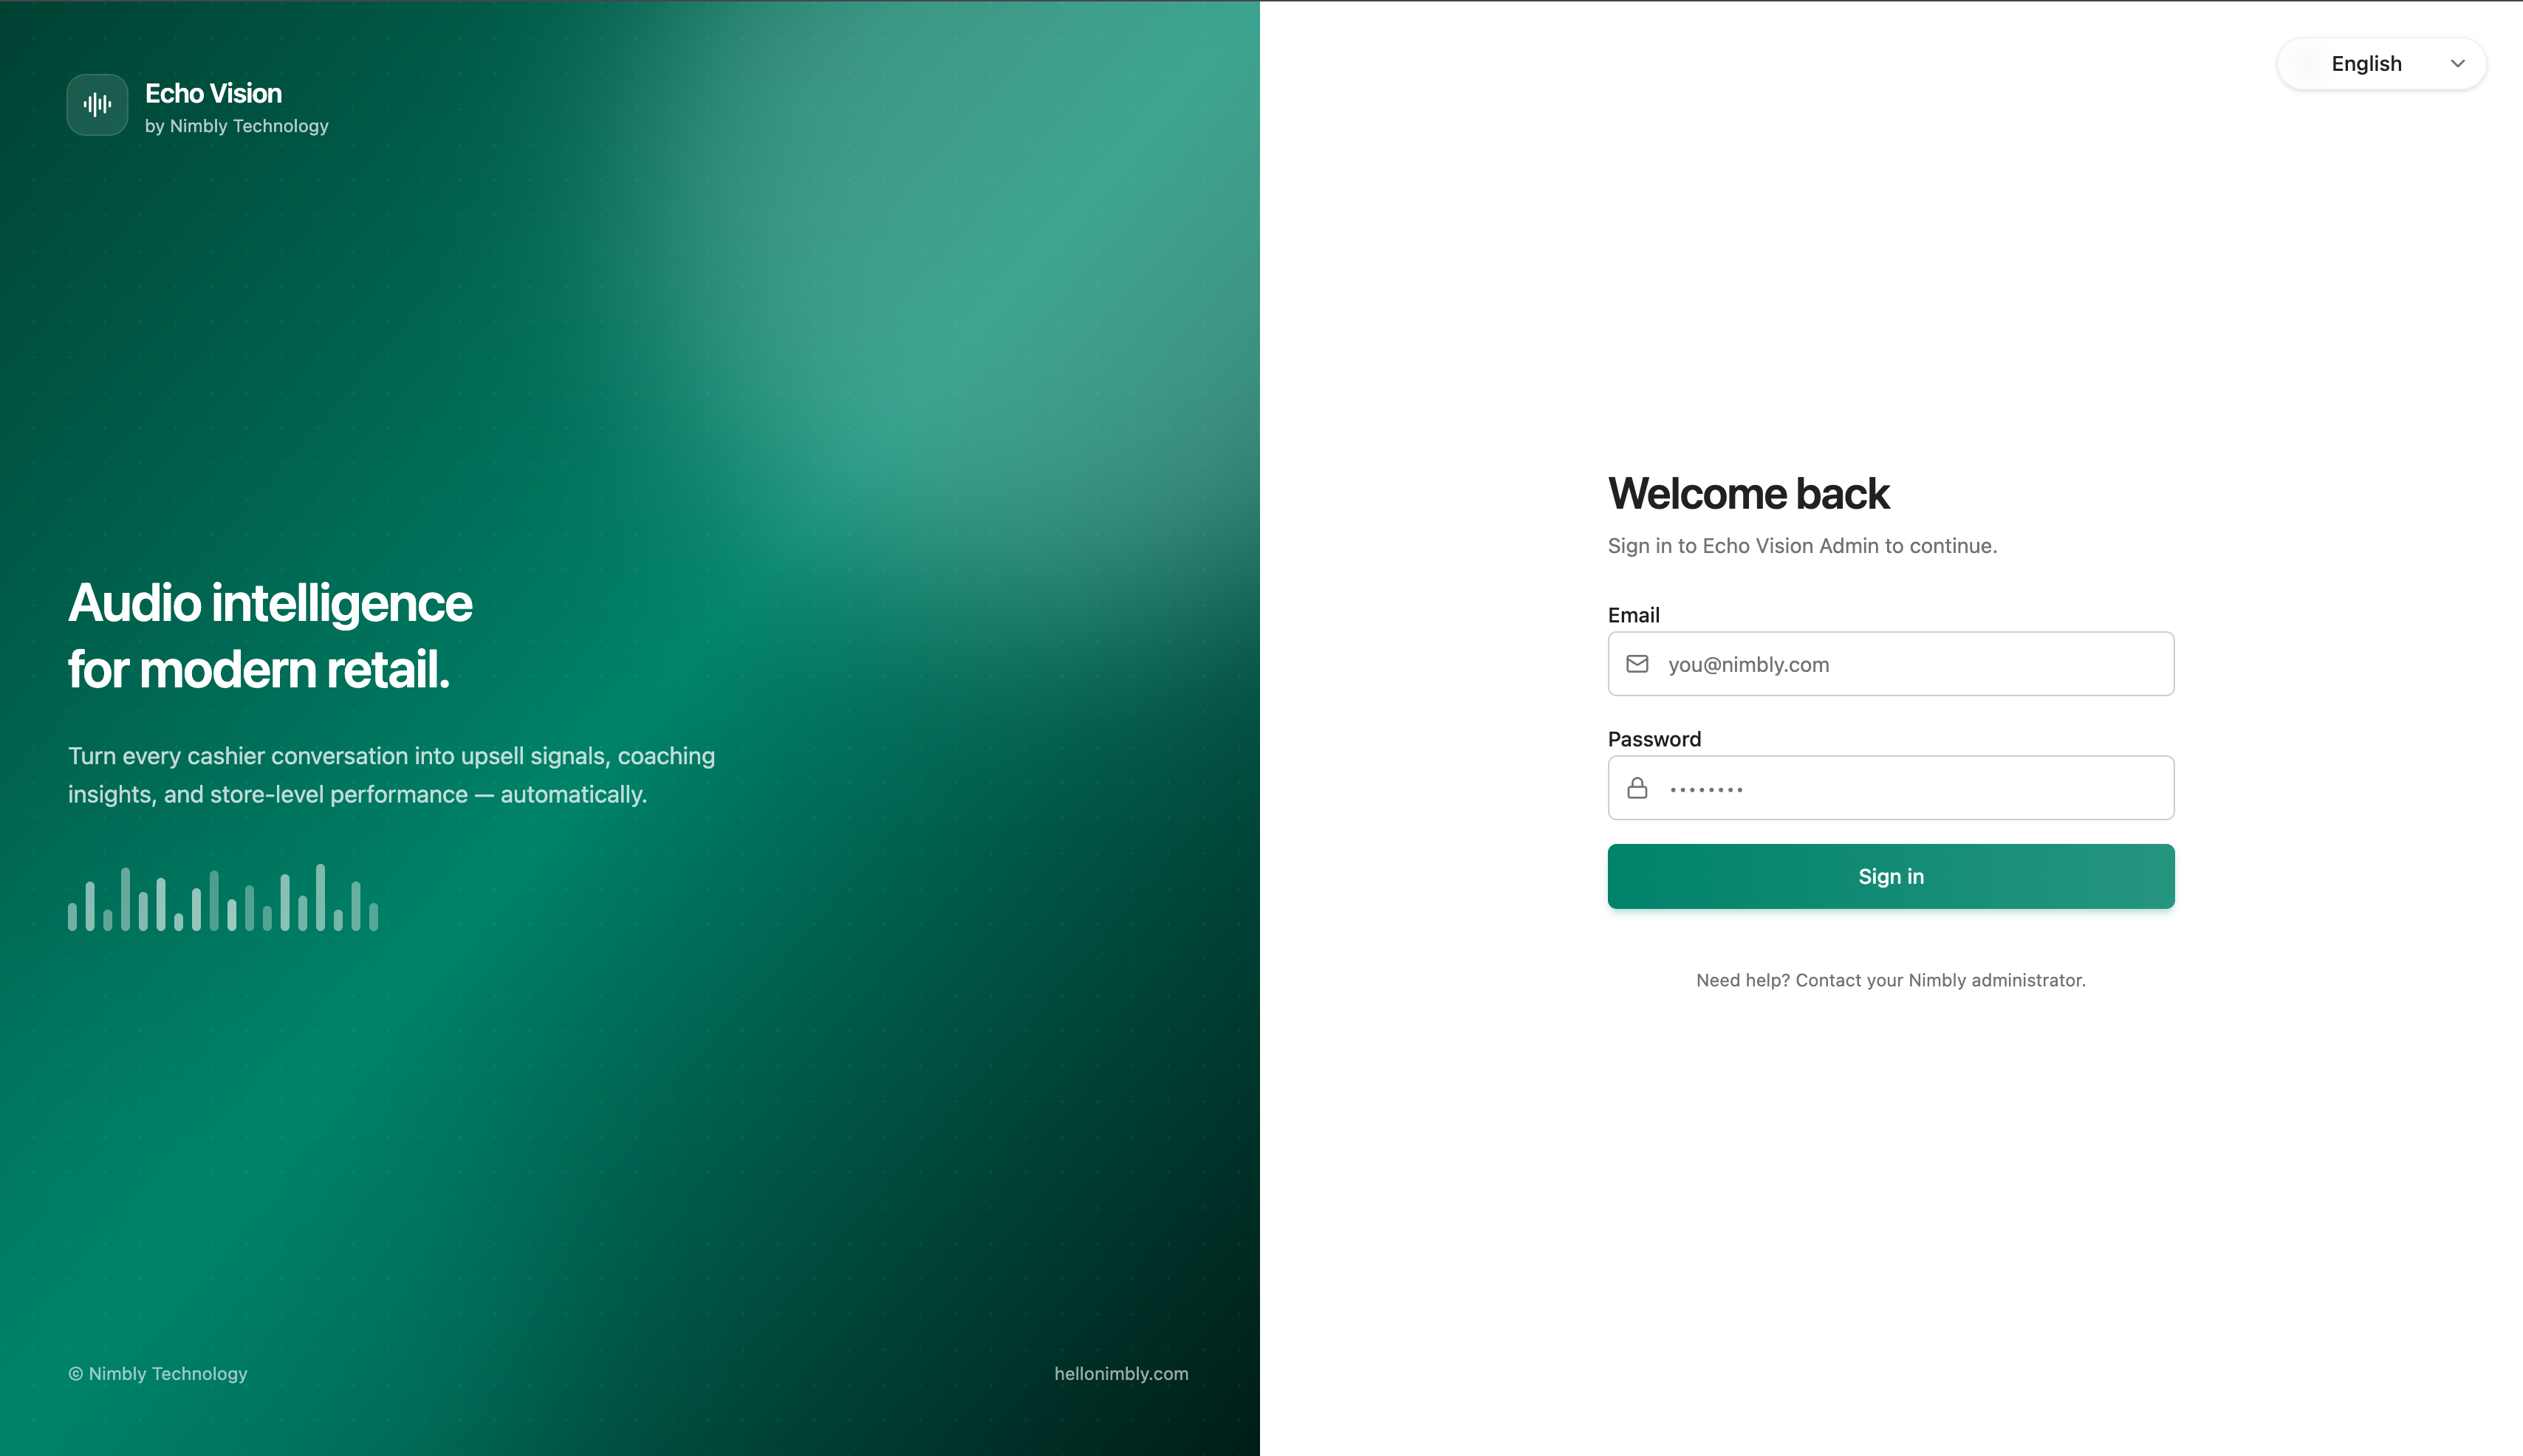
5. Login
- Open https://echo-vision-admin.gonimbly.ai/
- Sign in with the admin email and password provided by the super admin.
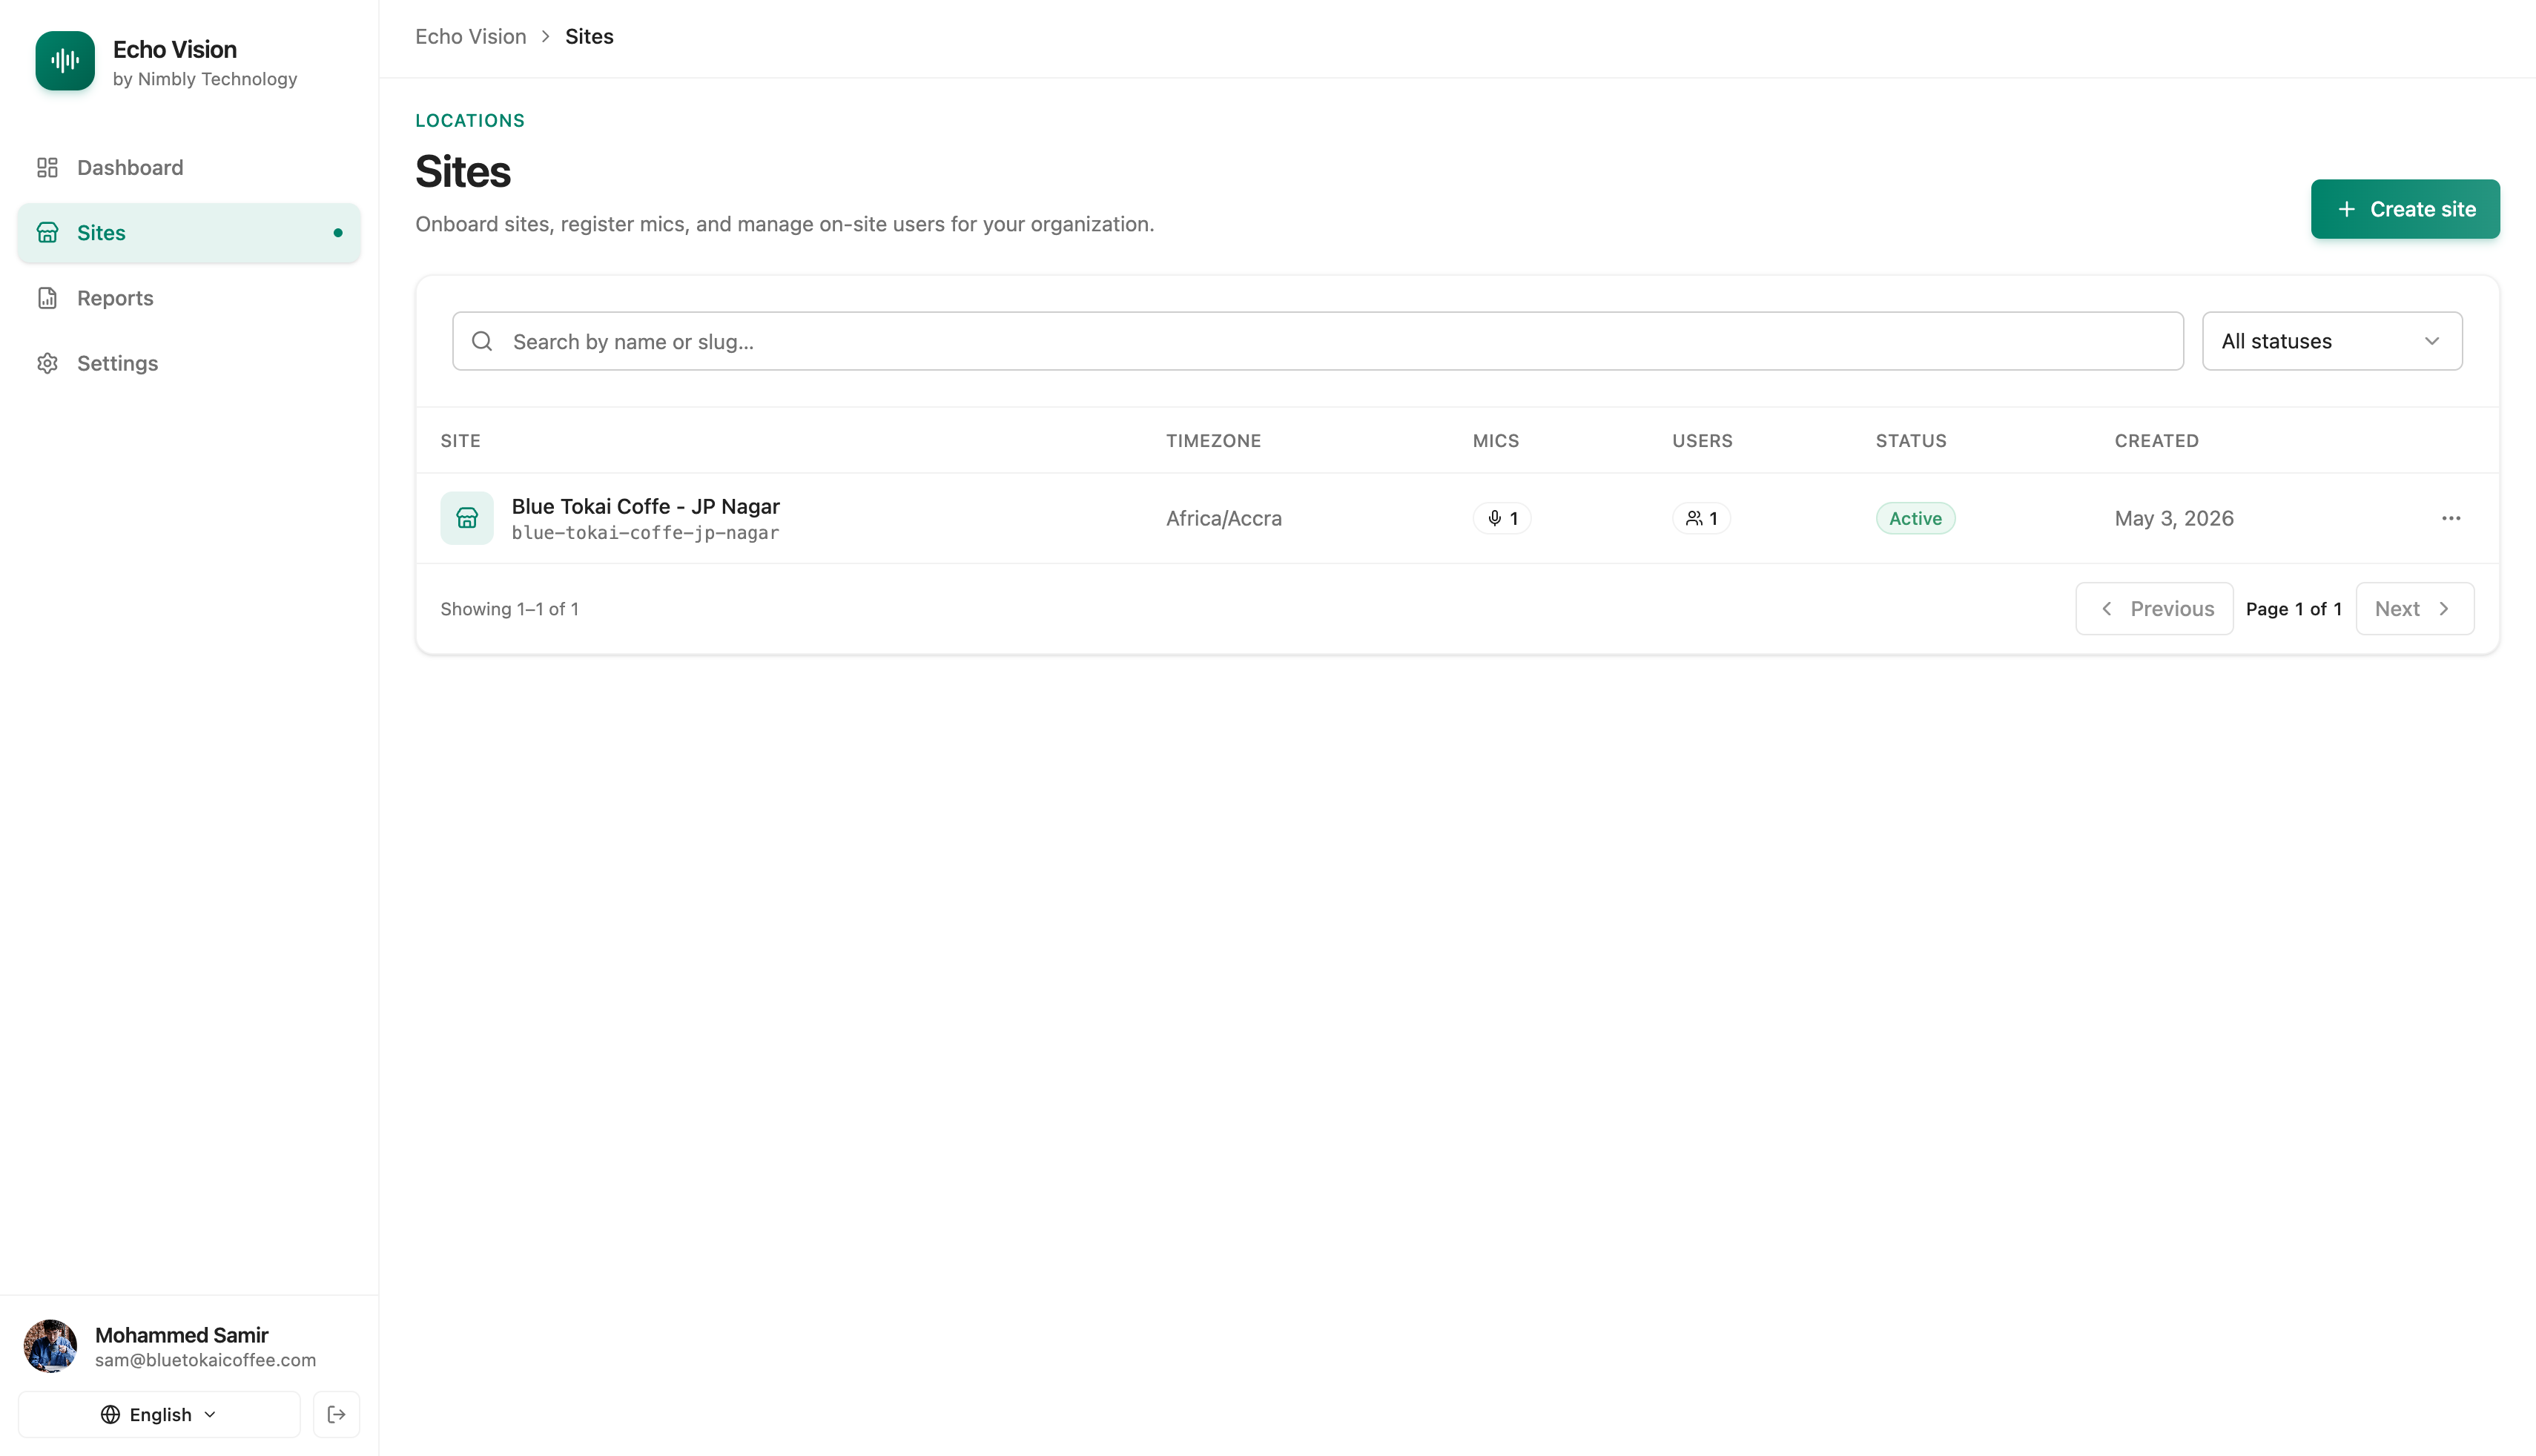
6. Sites — Listing
Route: /sites
All sites in the org. Use this page to find, enable/disable, or open a site for editing.
Search & filter:
- Search box: search by name or slug (debounced).
- Status filter: All statuses | Active | Disabled.
Columns: Site · Timezone · Mics · Users · Status · Created.
Actions:
- Create site button (top right) — opens the create form.
- Row menu (three dots) — Enable or Disable a site.
- Click a row to open the edit form.
Pagination: 20 sites per page.
7. Sites — Create or Update
Routes: /sites/new (create), /sites/[id]/edit (update).
5-step wizard. Progress indicator at top. Move forward only after current tab is valid.
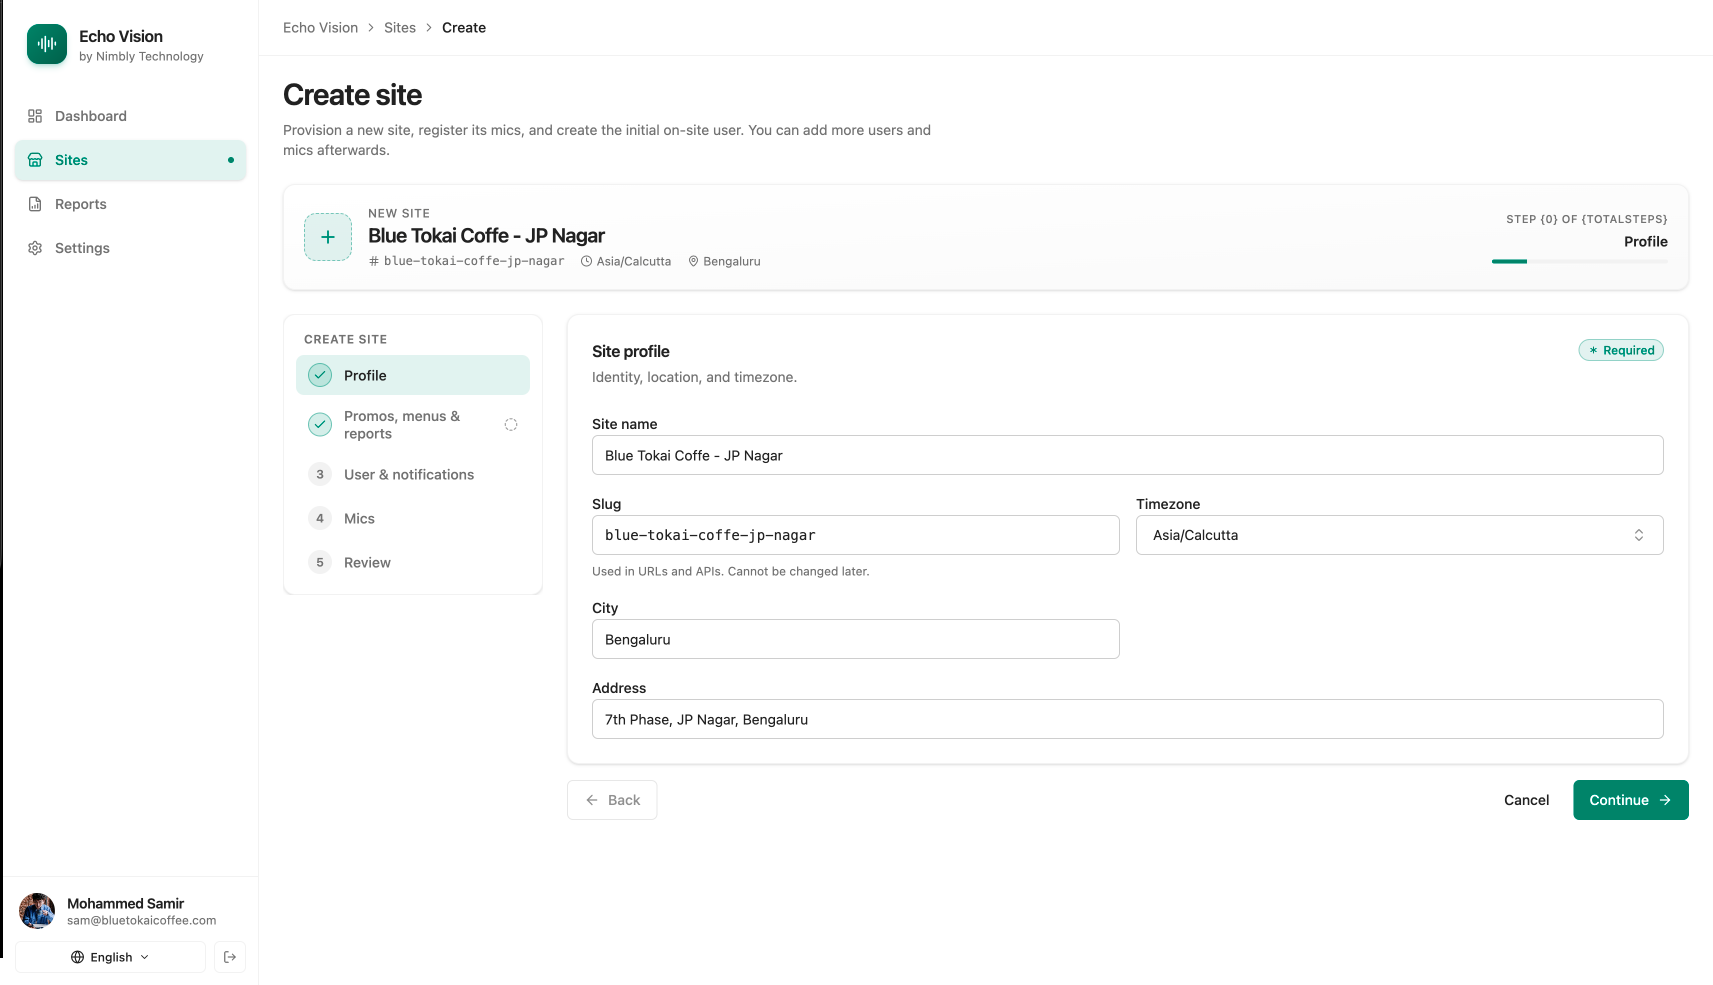
Tab 1: Profile
Required basics for the site.
| Field | Required | Notes |
|---|---|---|
| Site name | yes | Max 255 chars. |
| Slug | yes | Lowercase letters/numbers/dashes. Auto-generated from name. Cannot be changed after creation. |
| Timezone | yes | Searchable dropdown. Default Asia/Bangkok. |
| City | no | Max 255 chars. |
| Address | no | Max 500 chars. |
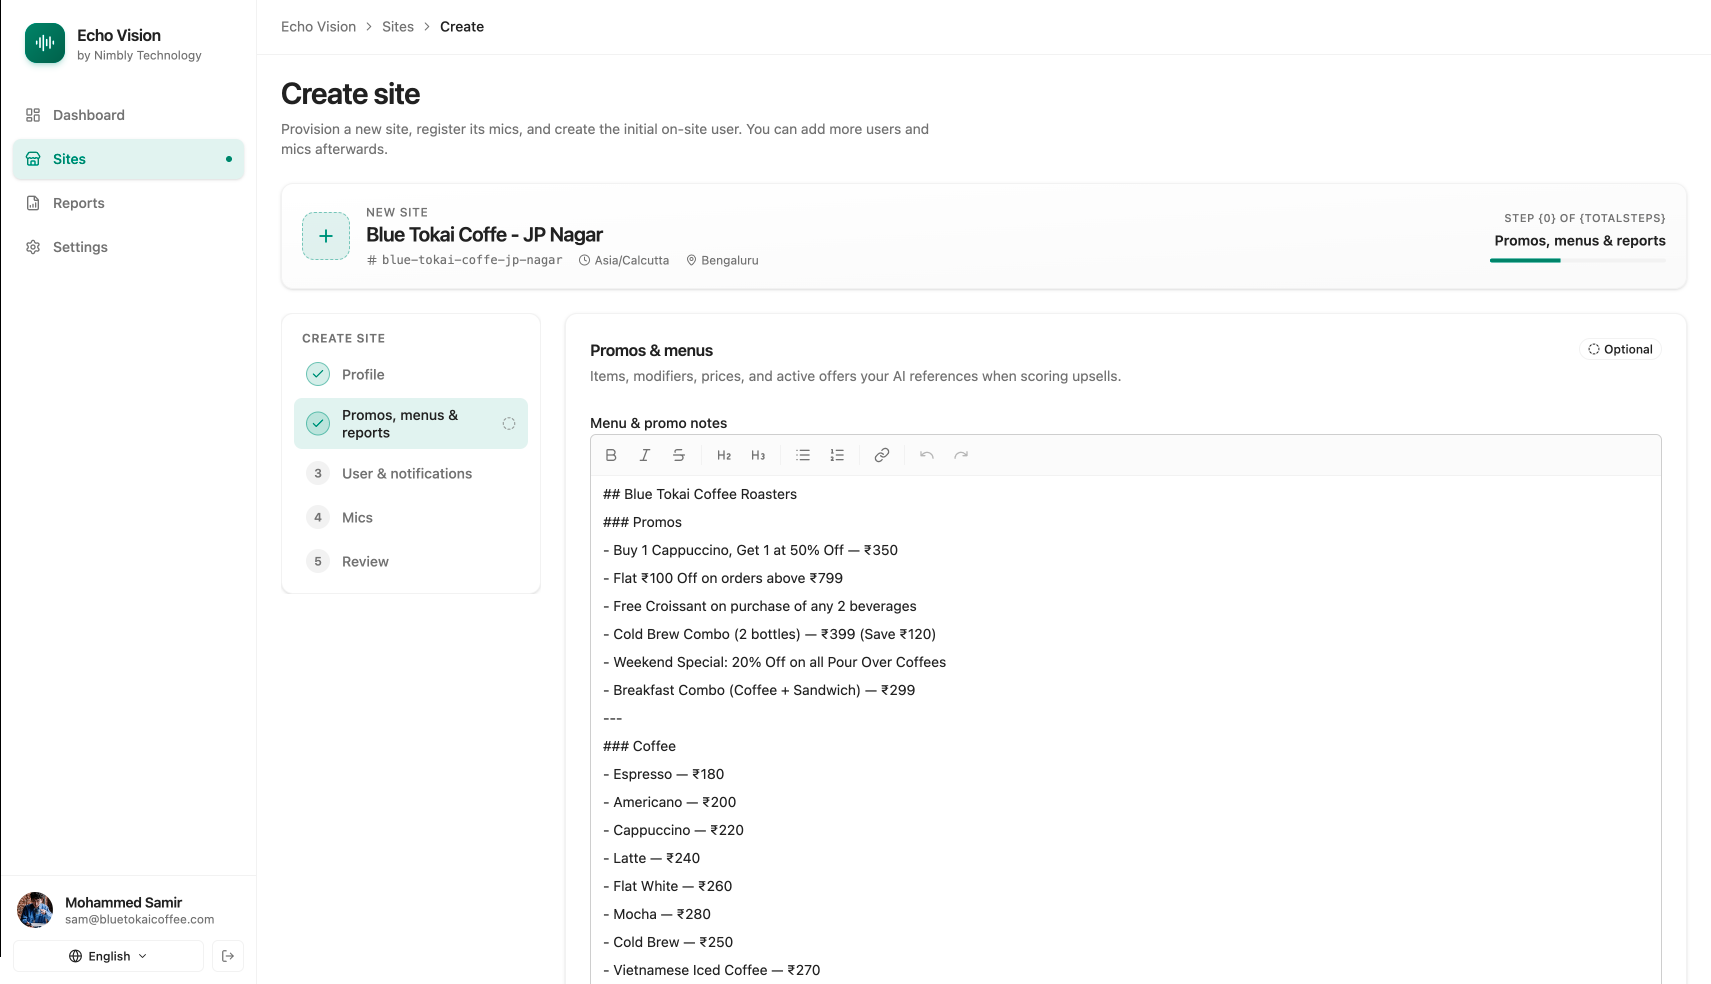
Tab 2: Promos, Menus & Reports
Free-text context the AI uses for promo detection and report generation.
| Field | Required | Notes |
|---|---|---|
| Menu context | no | Rich text. Up to 16,384 chars. |
| Report context | no | Rich text. Up to 16,384 chars. |
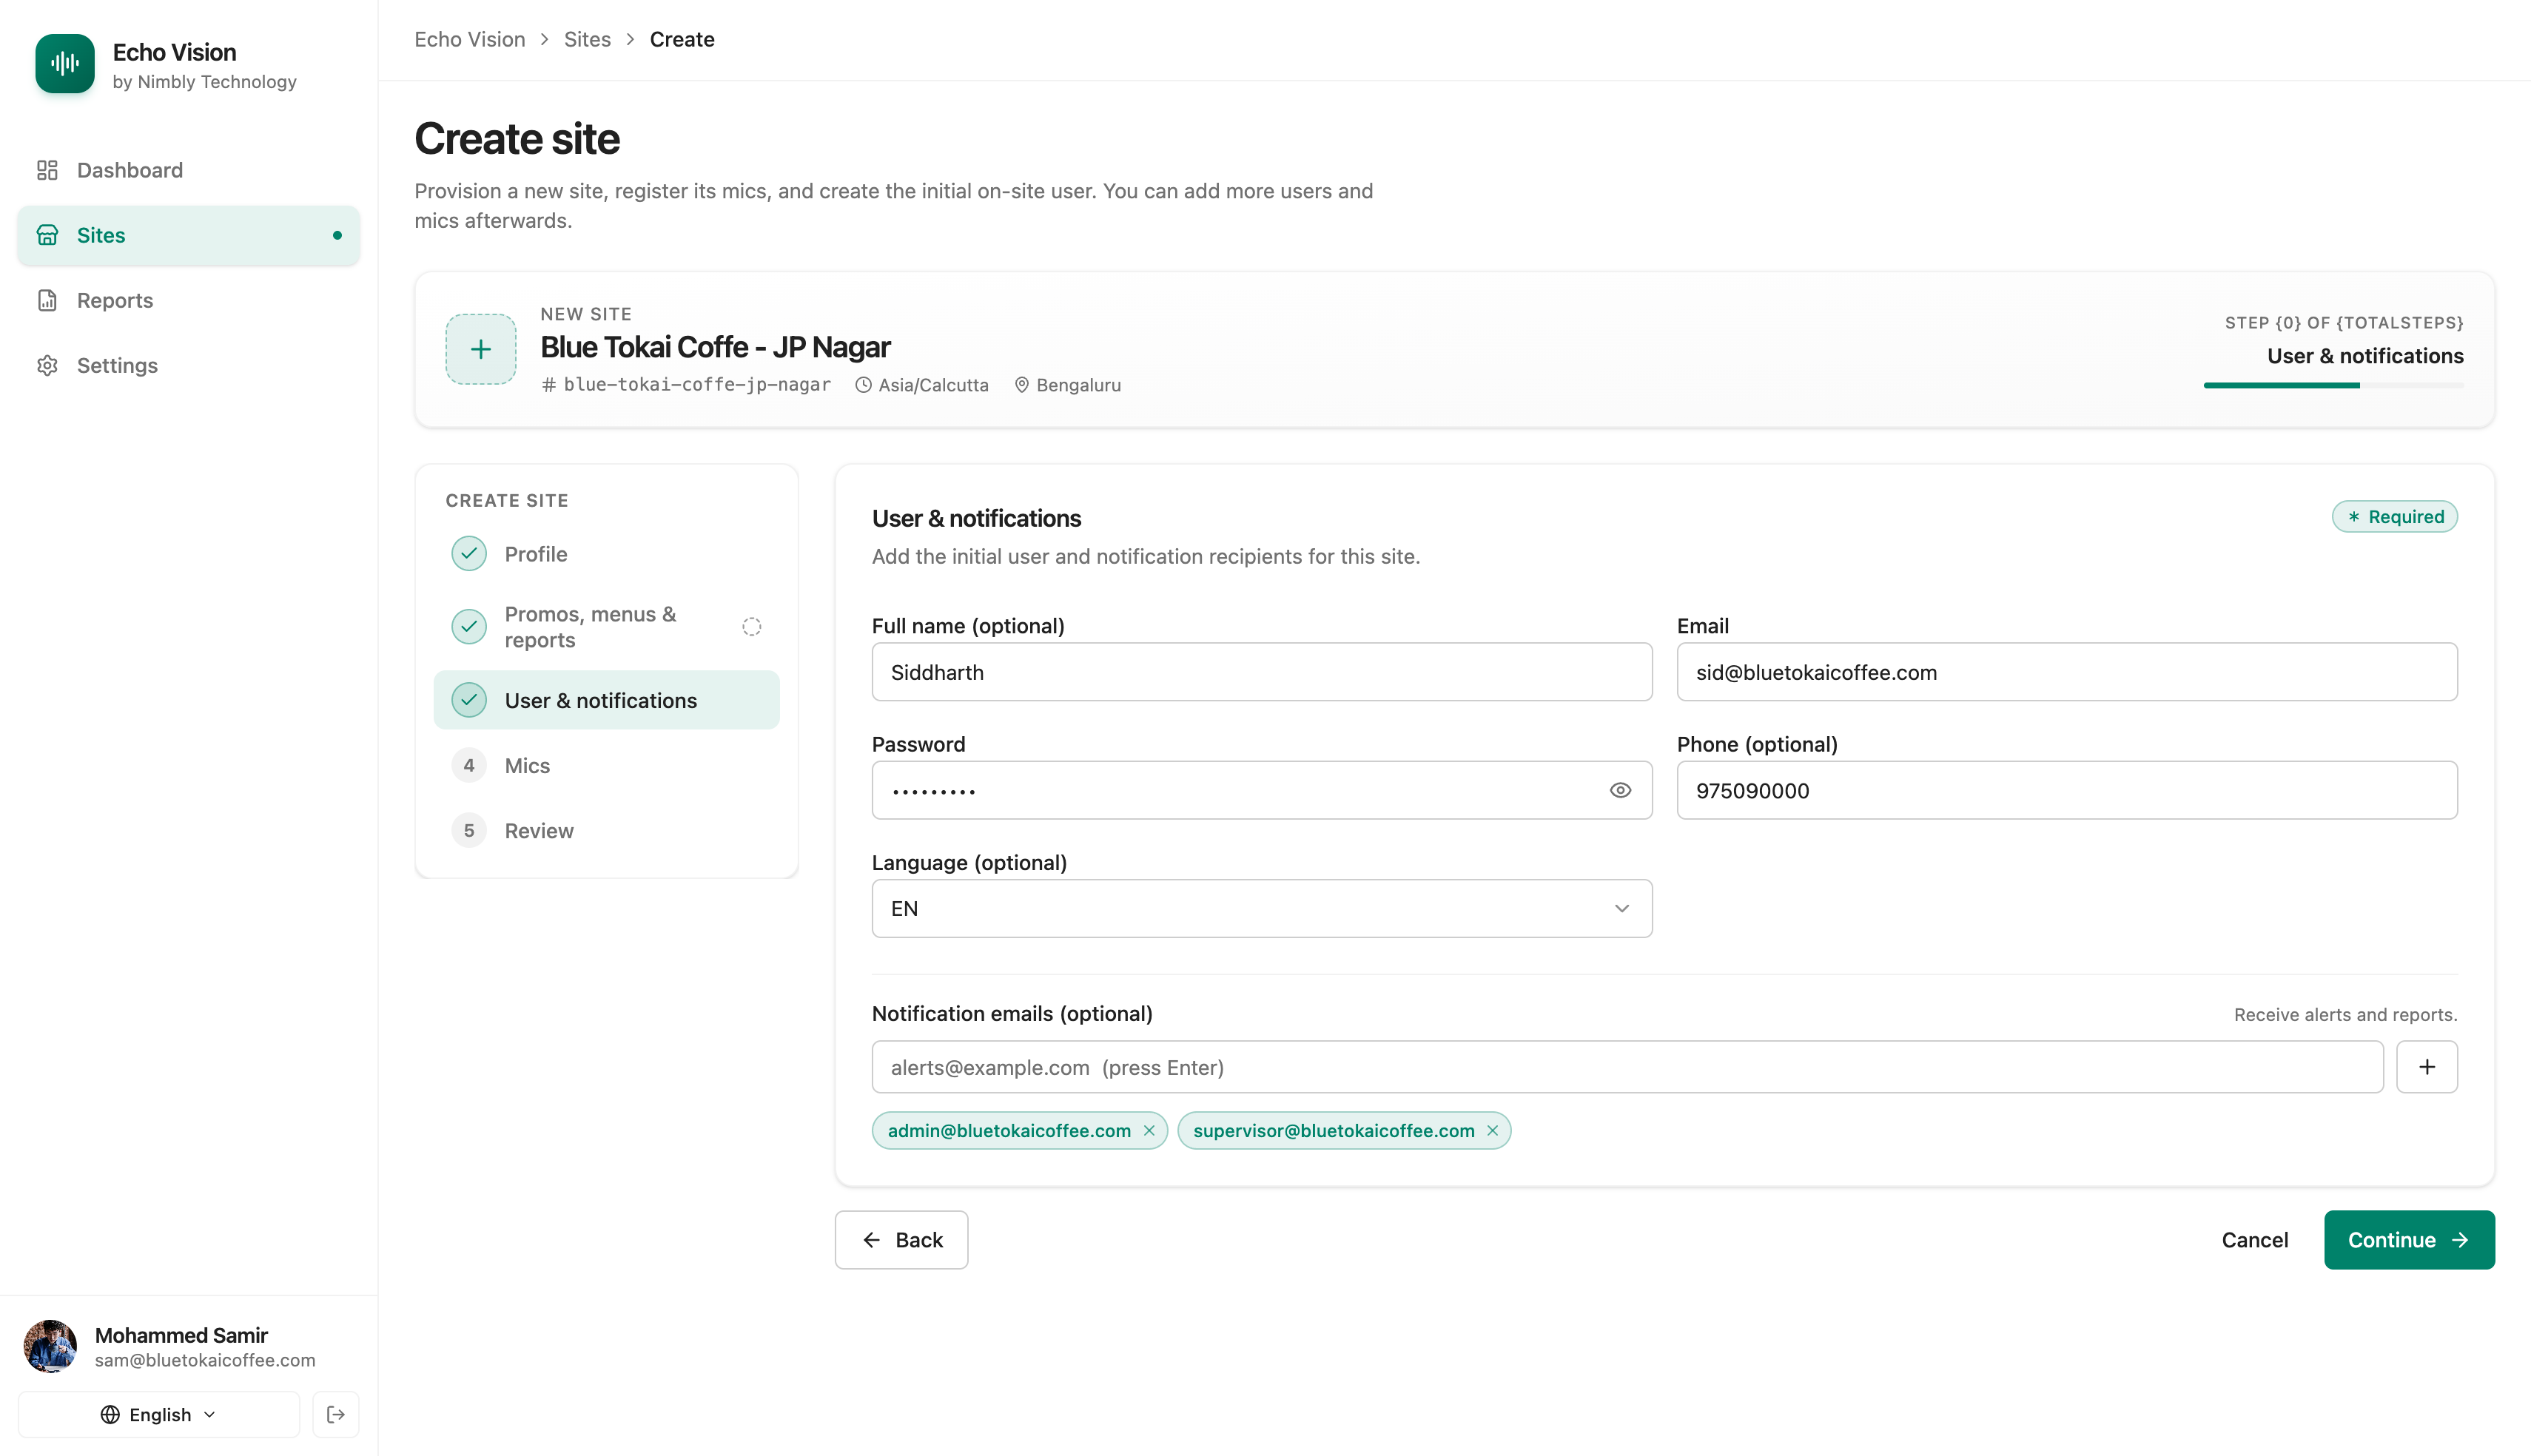
Tab 3: User & Notifications
The site supervisor account + people who receive site notifications.
| Field | Required | Notes |
|---|---|---|
| yes | Login email for the site user. | |
| Password | yes | Min 8 chars, max 128. |
| Full name | no | |
| Phone | no | |
| Role | yes | E.g. site_supervisor. |
| Language | yes | Inherit org default or pick a language. |
| Notification emails | no | Add one or more recipients for site alerts/reports. |
You can add more users later from the same screen on edit. Disable a user via the trash icon in the user table.
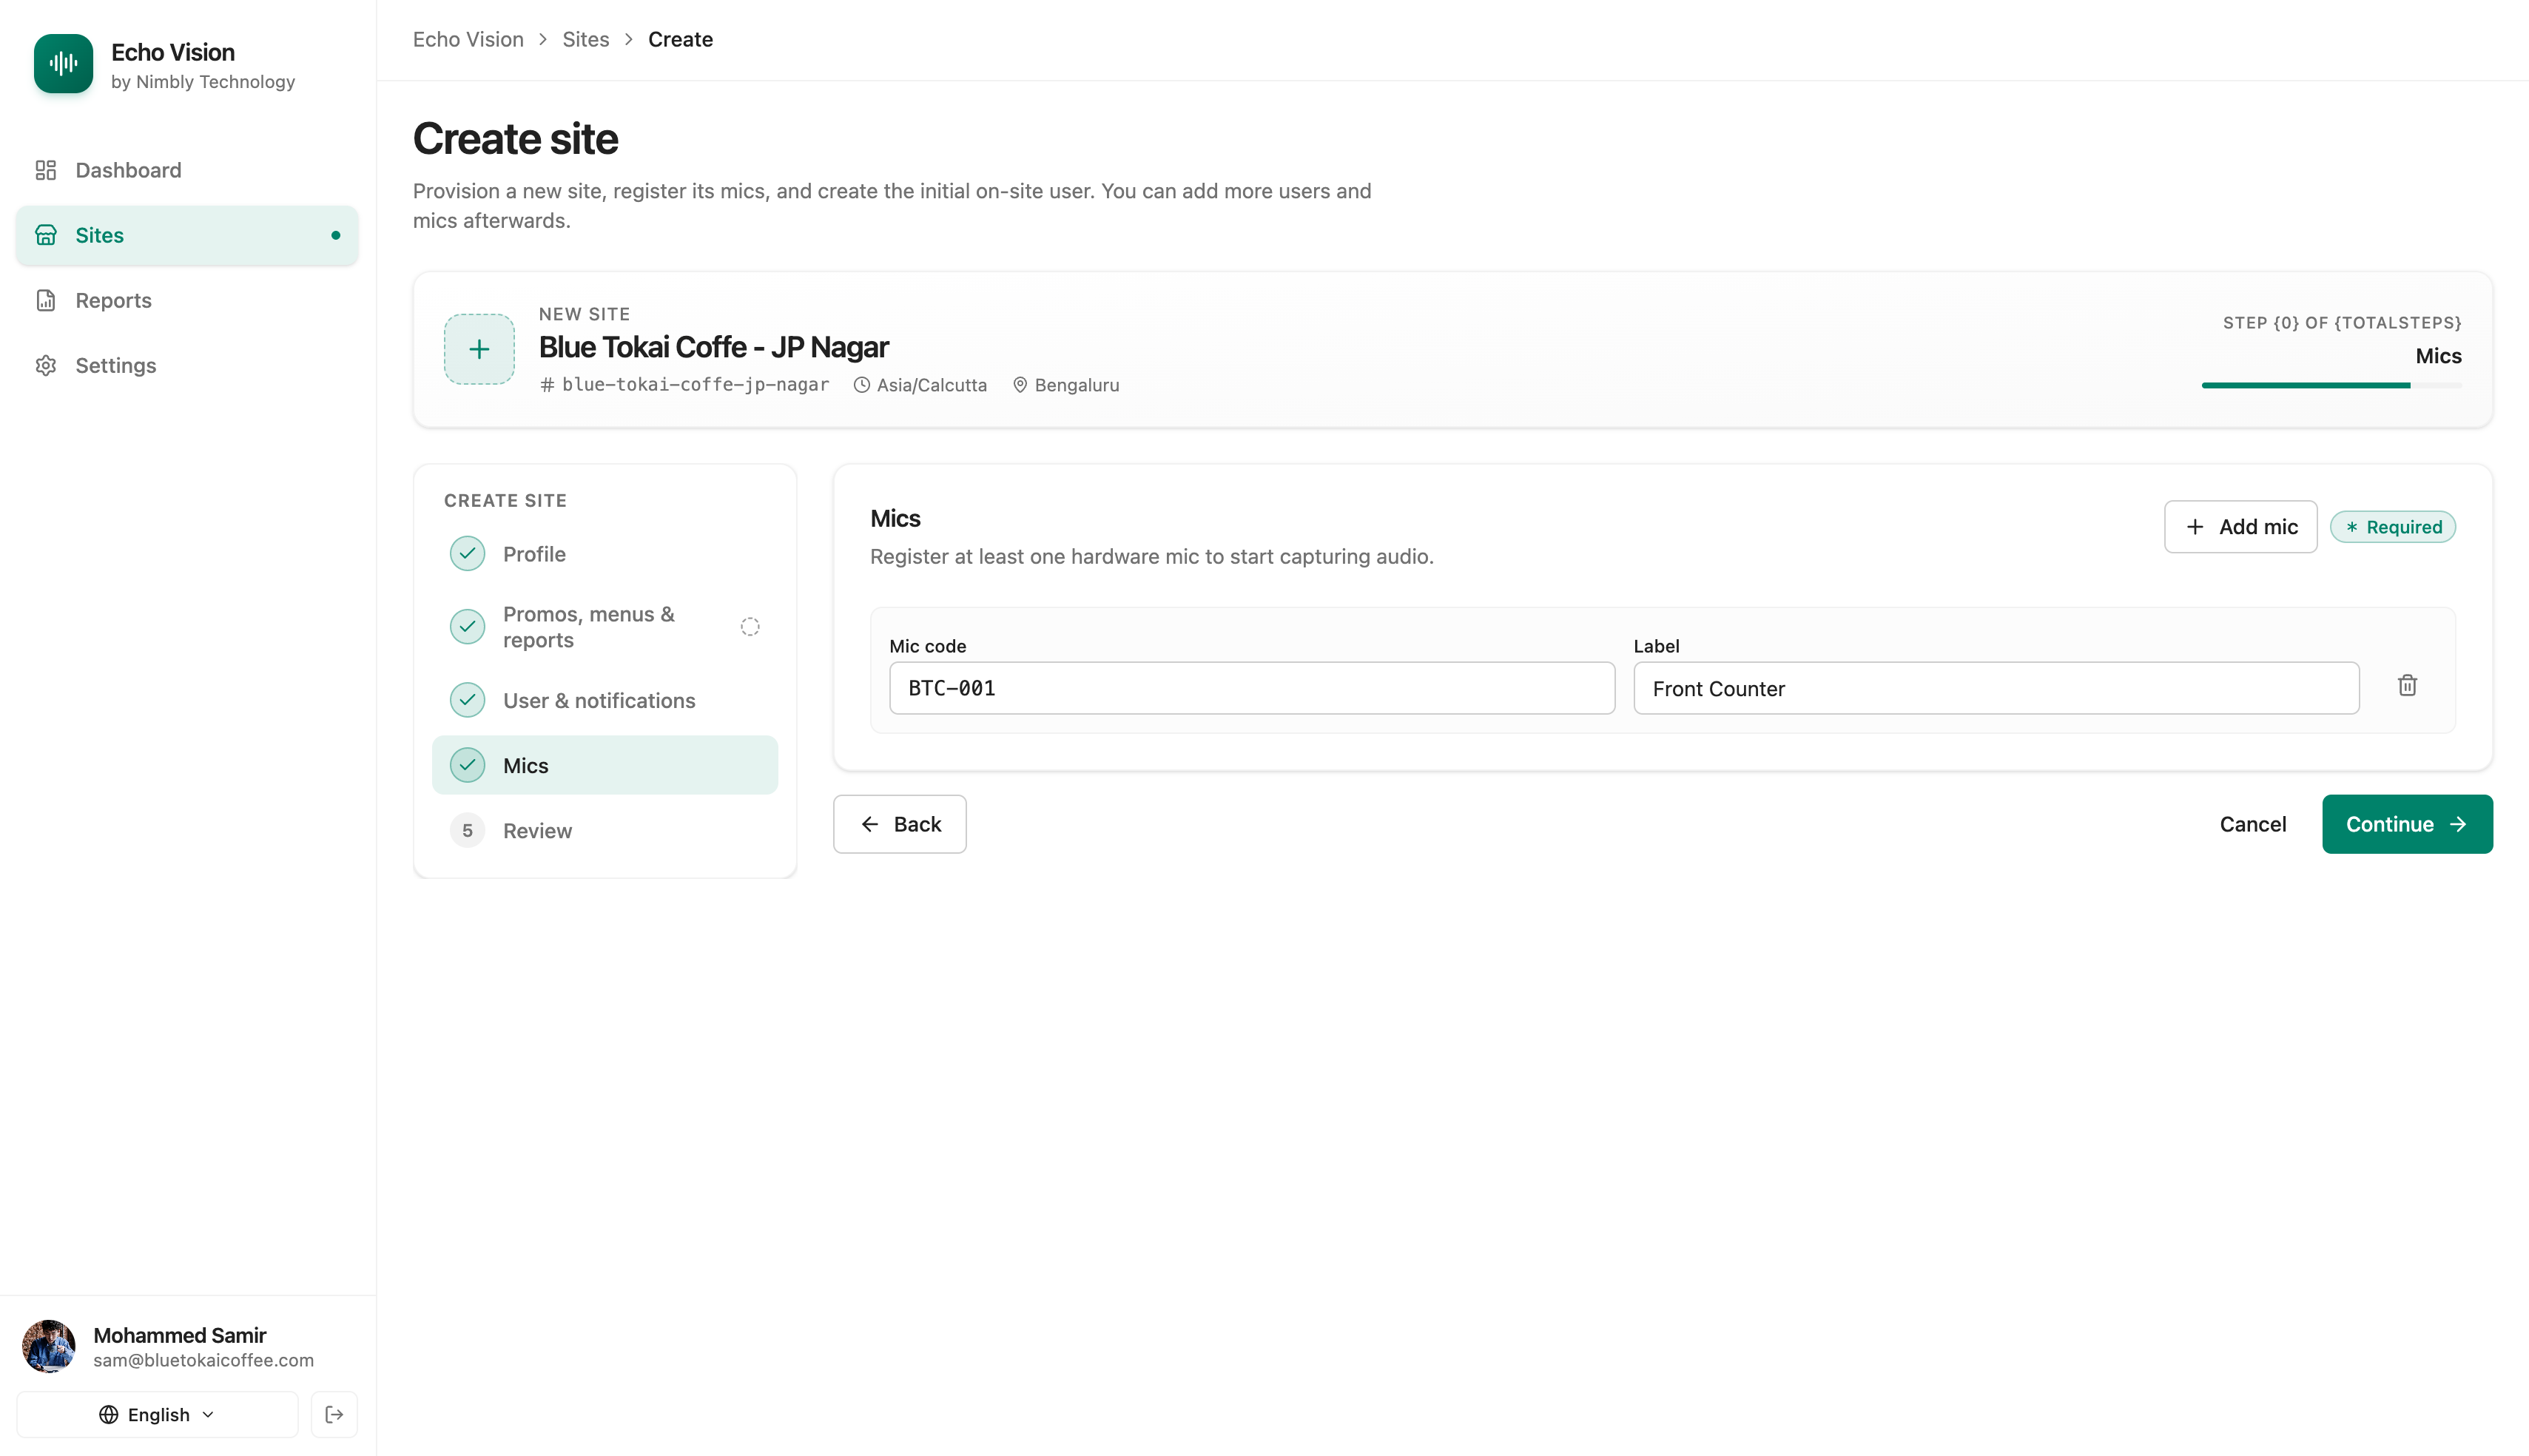
Tab 4: Mics + Mic Setup
Register every mic deployed at the site. At least 1 mic required.
| Field | Required | Notes |
|---|---|---|
| Mic code | yes | Unique per site. Max 64 chars. |
| Label | yes | Human label, e.g. “Cashier 1”. Max 255. |
Use Add mic to append more rows.
Mic setup
Quick — takes 1–2 seconds.
- Plug the mic into the laptop via USB. Wait for it to appear.
- In the mic row, click Setup.
- When the folder picker opens, select the mic folder and confirm.
- Wait for the success message.
- Finish on the mic itself:
- Unplug the mic from USB.
- Turn the mic ON for about 5 seconds, then turn it OFF.
- This step locks in the new settings on the mic.
Use Chrome or Edge on a laptop or desktop. Safari and Firefox are not supported.
If you see an error, unplug and re-plug the mic, then click Setup again.
Watch the mic setup flow end-to-end:
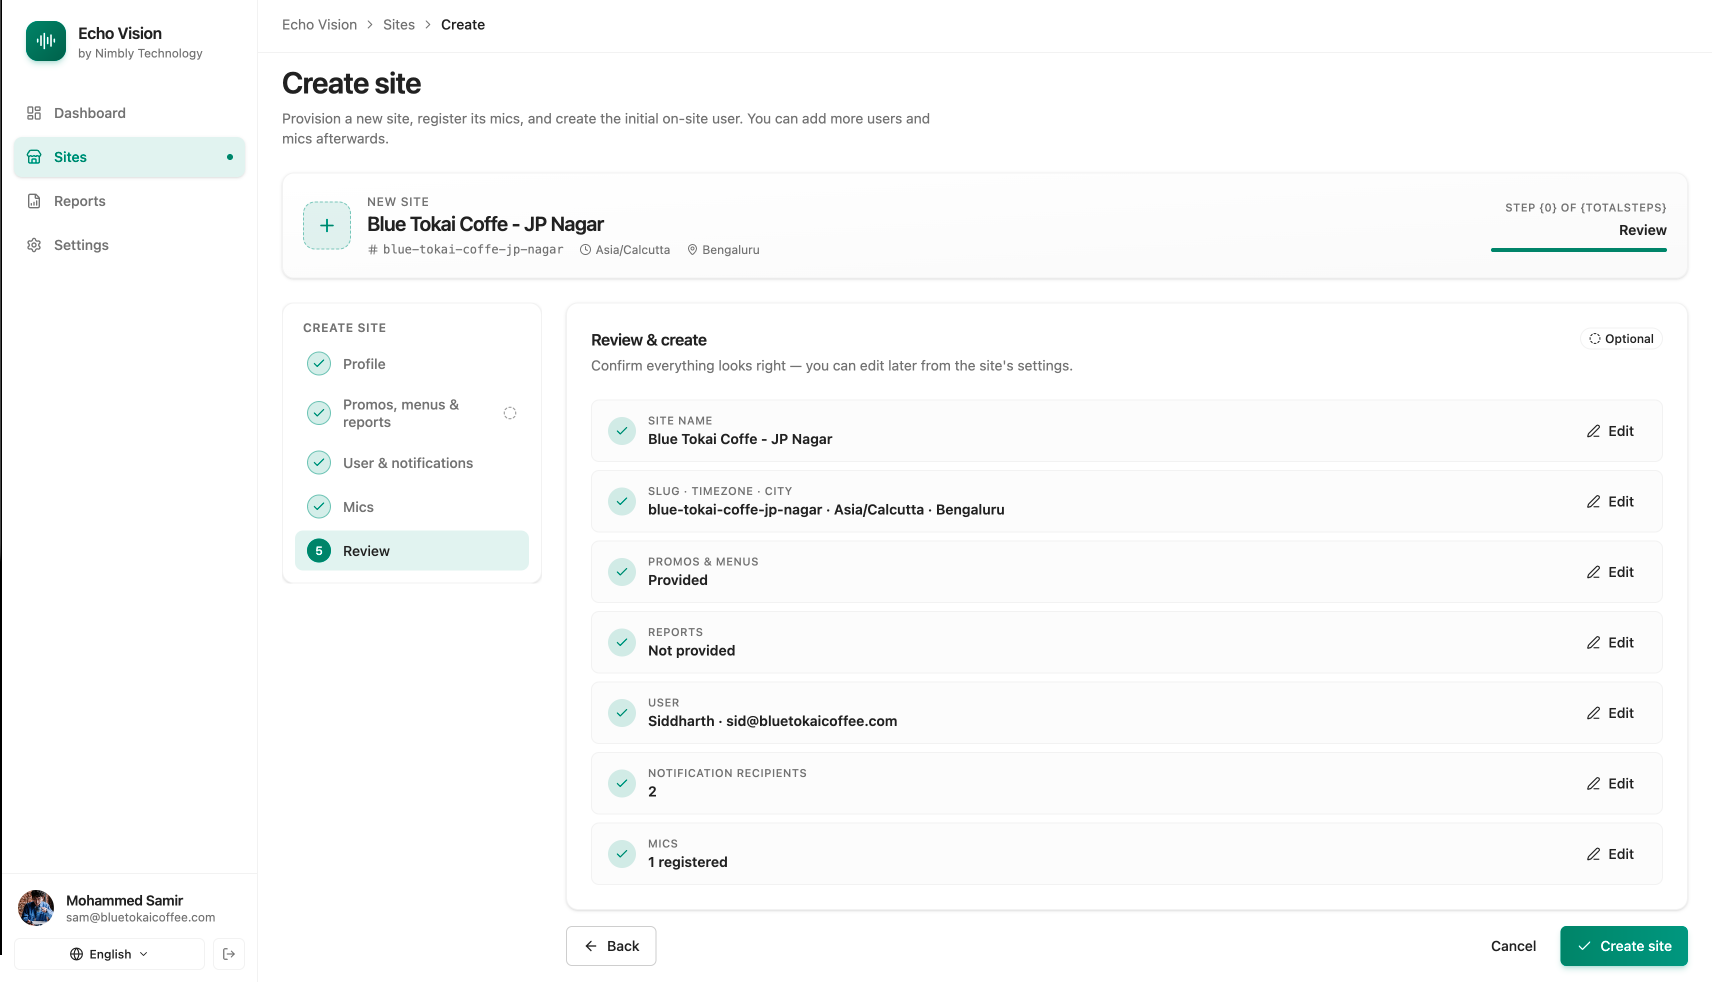
Tab 5: Preview / Review
Read-only summary of everything entered across the previous tabs. Use Back to fix anything. Click Submit to create or save the site.
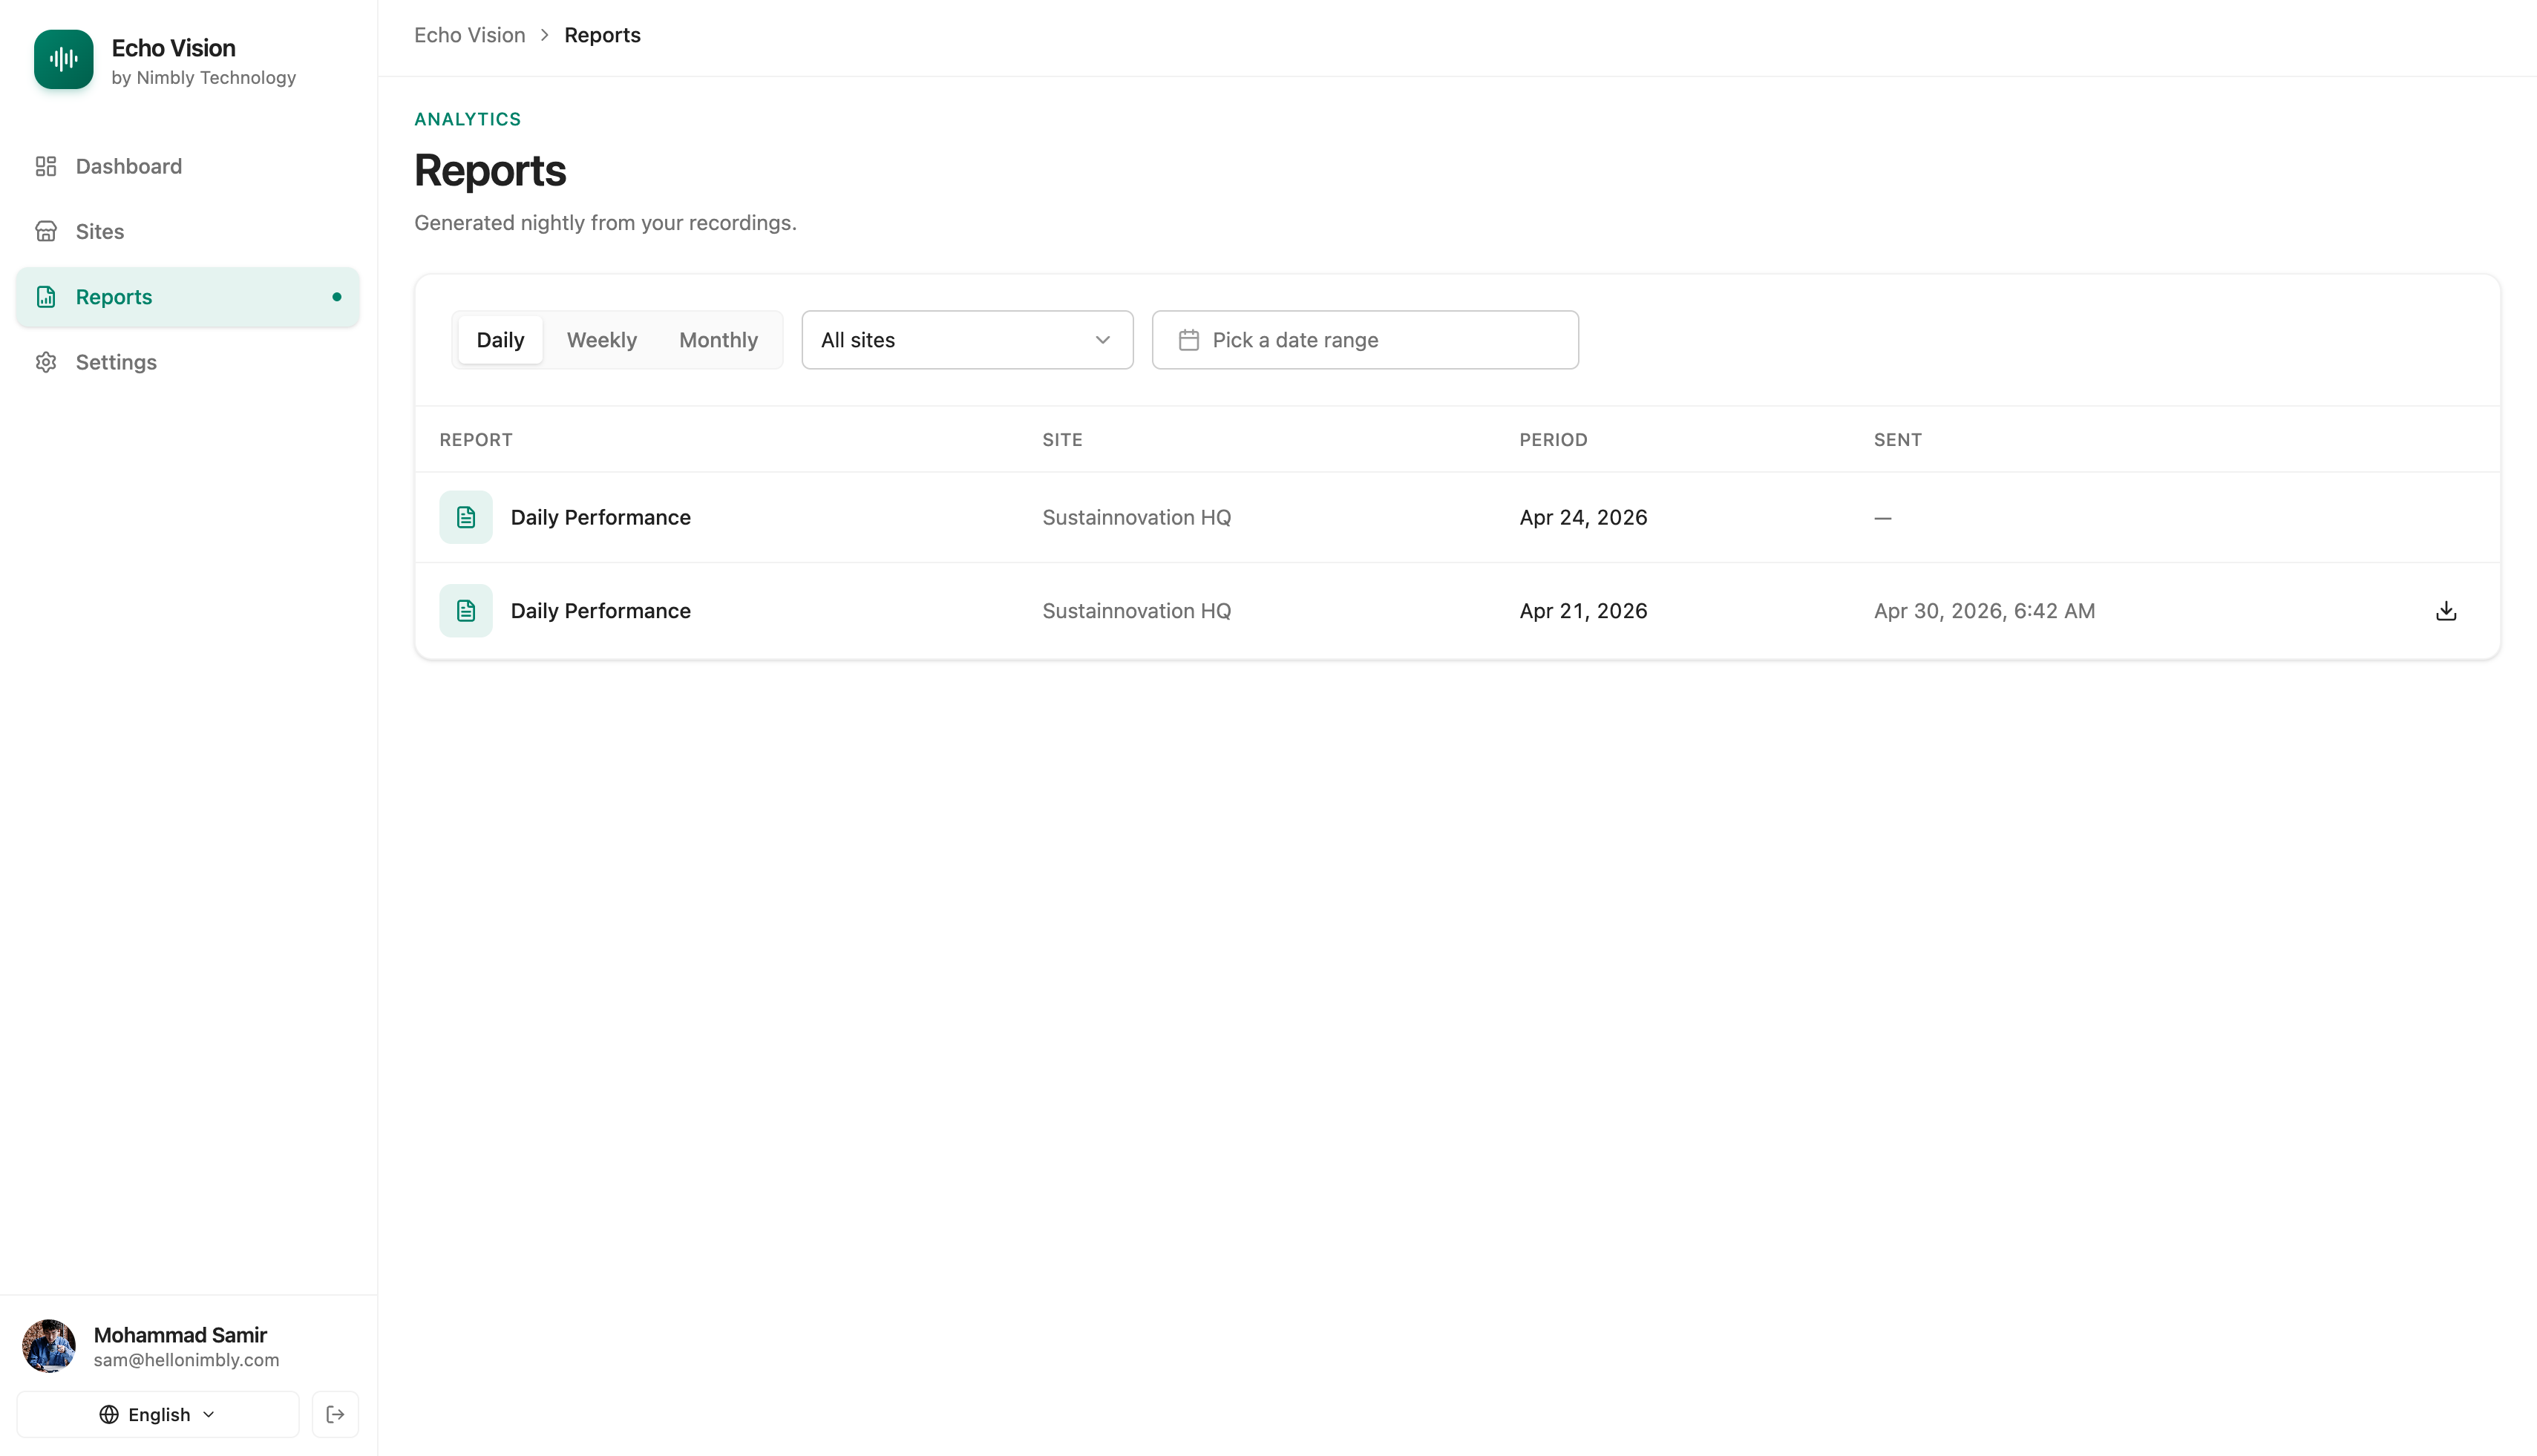
8. Reports
Route: /reports
Browse and download generated reports (PDF).
Filters:
- Period: Daily · Weekly · Monthly (default Daily).
- Site: dropdown of all sites, or All sites.
- Date range: From / To date pickers.
Columns: Report · Site · Period · Sent · Download.
Download:
- Only reports with status generated or sent show a Download button.
- Format: PDF.
Pagination: 20 reports per page.
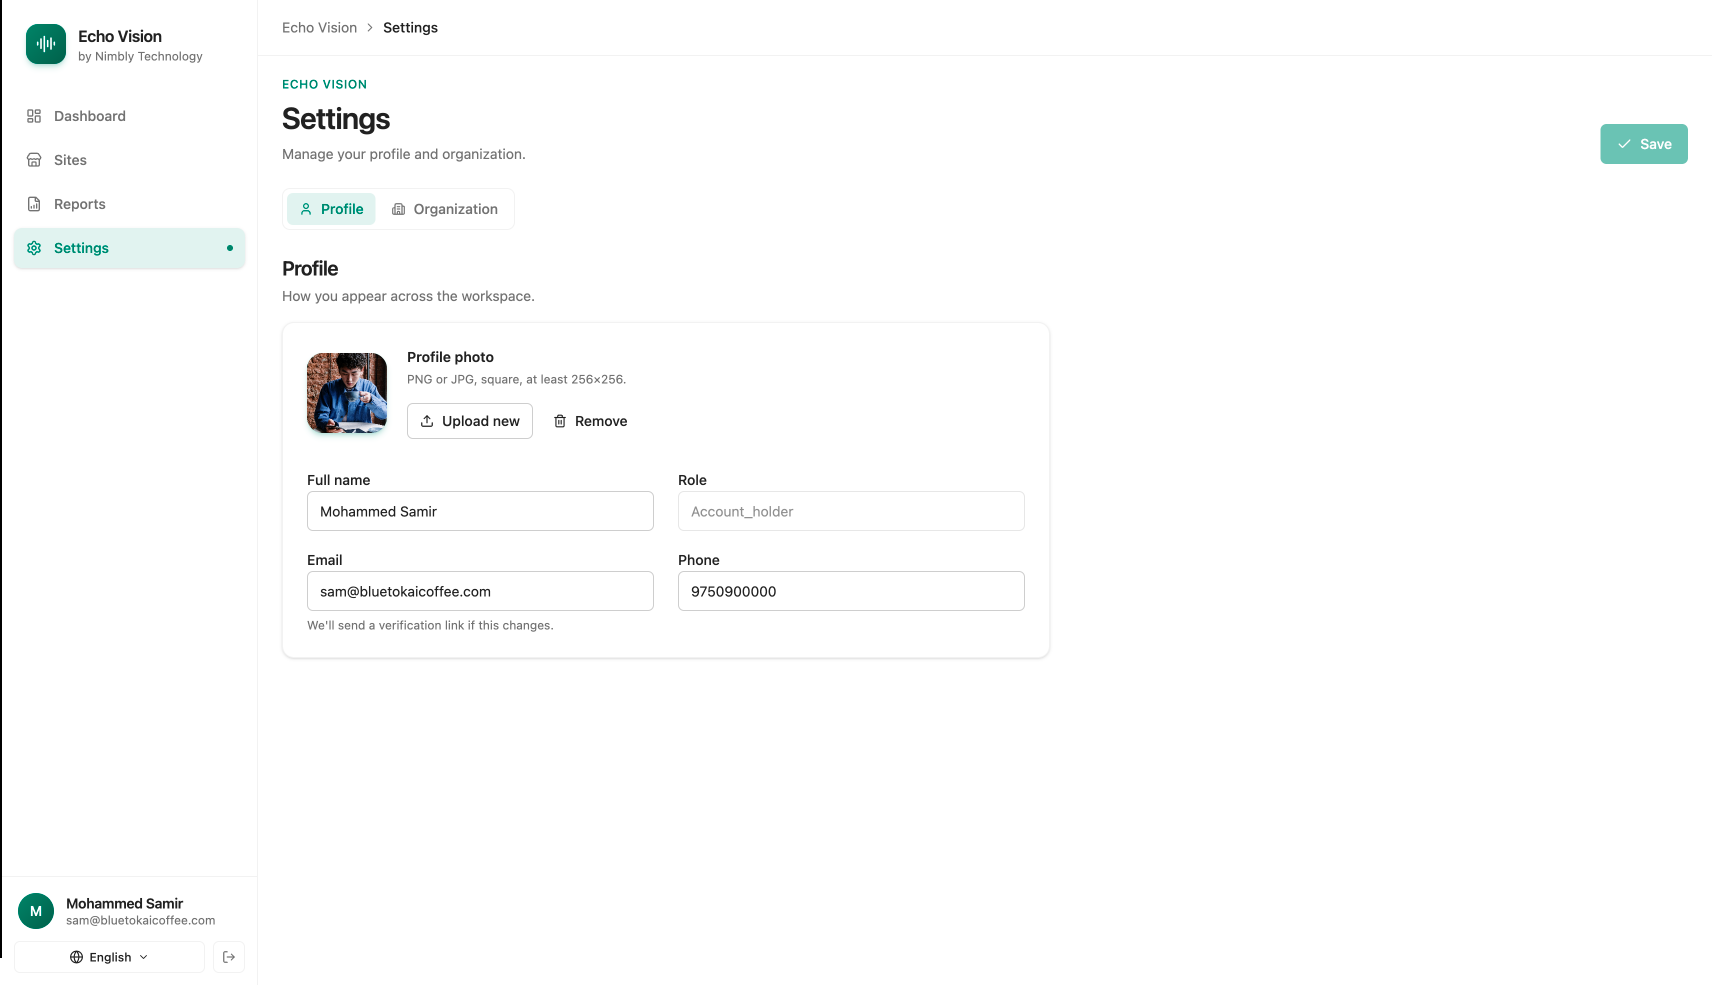
9. Settings — Profile
Route: /settings → Profile tab.
Update your own admin profile.
| Field | Notes |
|---|---|
| Avatar | Upload PNG/JPG/WebP, min 256×256. Remove available. |
| Full name | Editable. |
| Role | Read-only. |
| Editing triggers a verification email. | |
| Phone | Editable. |
Click Save to persist changes.
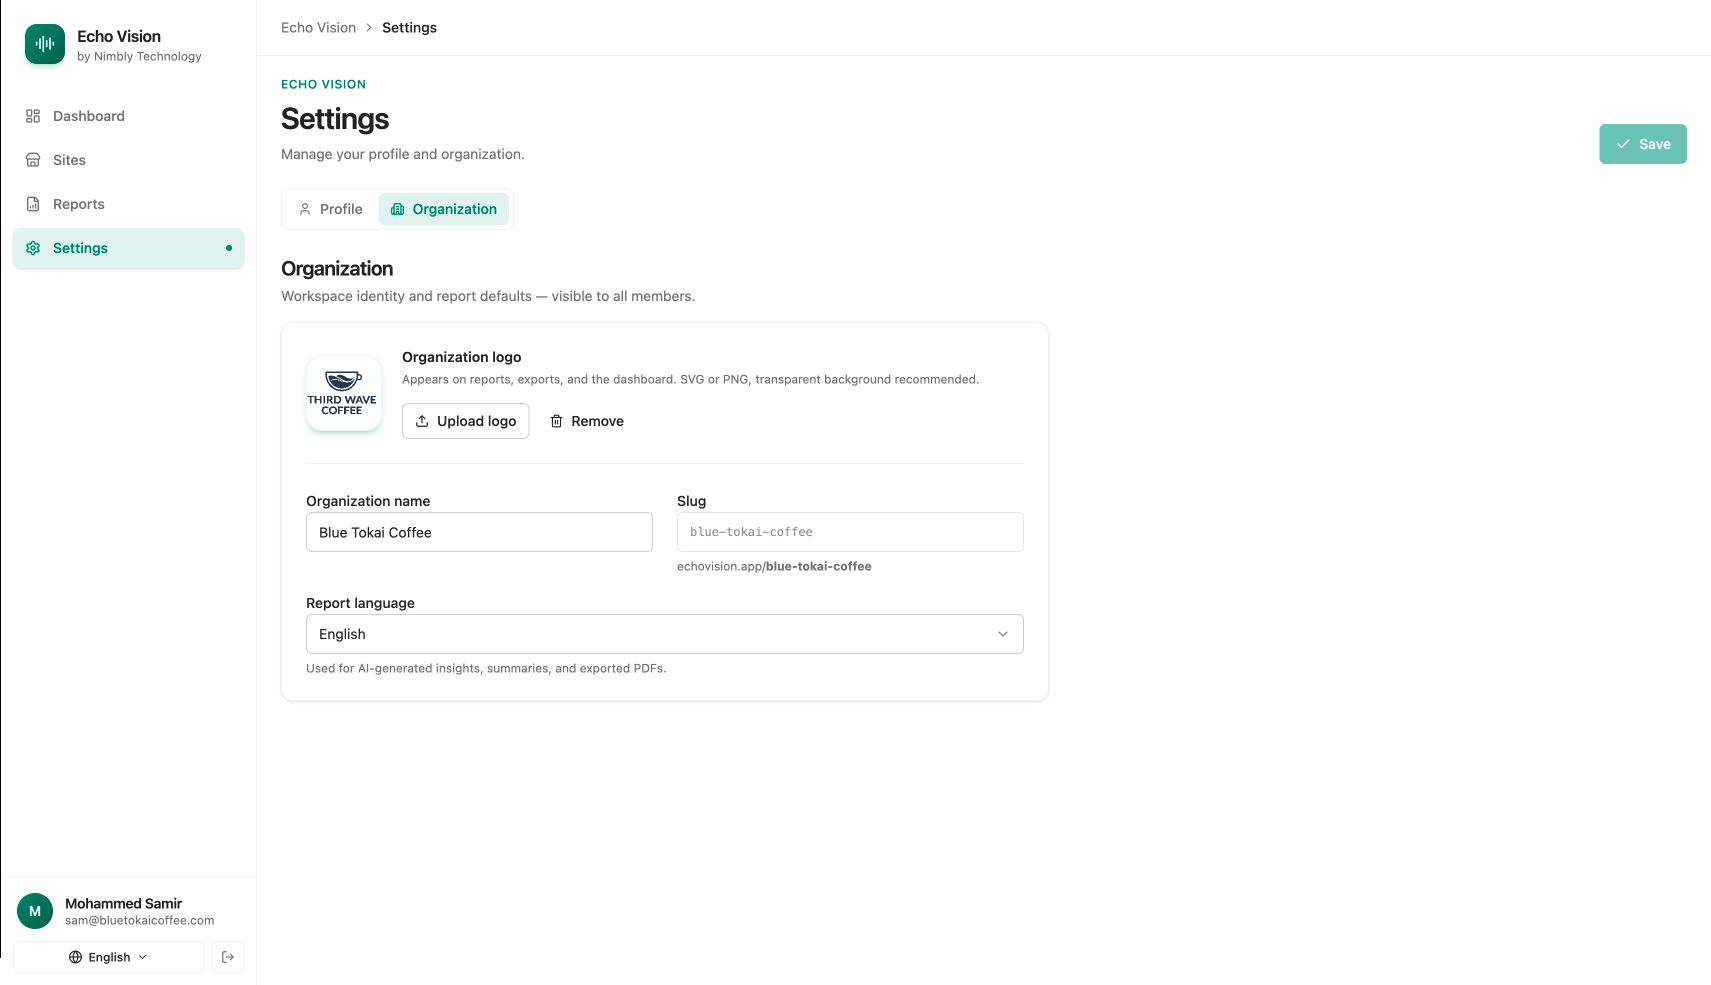
10. Settings — Organization
Route: /settings → Organization tab.
Org-wide branding and defaults.
| Field | Notes |
|---|---|
| Logo | Upload SVG/PNG/WebP. Transparent background recommended. Remove available. |
| Organization name | Editable. |
| Slug | Read-only. Shown as echovision.app/{slug}. |
| Report language | Default language for generated reports: English, Bahasa Indonesia, Thai, Vietnamese, Malay. |
Click Save to persist changes.
Notes
- Site slug is permanent. Pick carefully on creation.
- Disabling a site stops new uploads but keeps history accessible.
- Disabling a user blocks login but preserves audit trail.
- After mic setup, always unplug → on 5 seconds → off on the mic. Skip this and the mic keeps the old settings.